
Most home-repair advice online is either too vague to actually act on, or so padded with filler you give up halfway through reading it. Handy tips drhandybility style content tends to skip that trap specific measurements, the actual order steps happen in, the small technique differences that separate “looks homemade” from “looks like you hired someone.”
Here’s what you’ll actually get: real guidance on measuring and prep, painting technique that holds up past month one, a few weekend upgrades worth your time, and the kind of proactive maintenance that catches a $50 problem before it quietly becomes an $800 one. None of it needs specialty tools or a license. Just the right order, done carefully instead of rushed.
Planning Beats Skill, Basically Every Time
Most DIY disasters don’t actually start with bad execution. It often starts with inadequate planning: rushed measurements, using the wrong tools simply because they’re nearby, and a budget that leaves no room for unexpected problems. Those are the real root causes behind projects that end up looking amateur. Not some lack of raw talent.
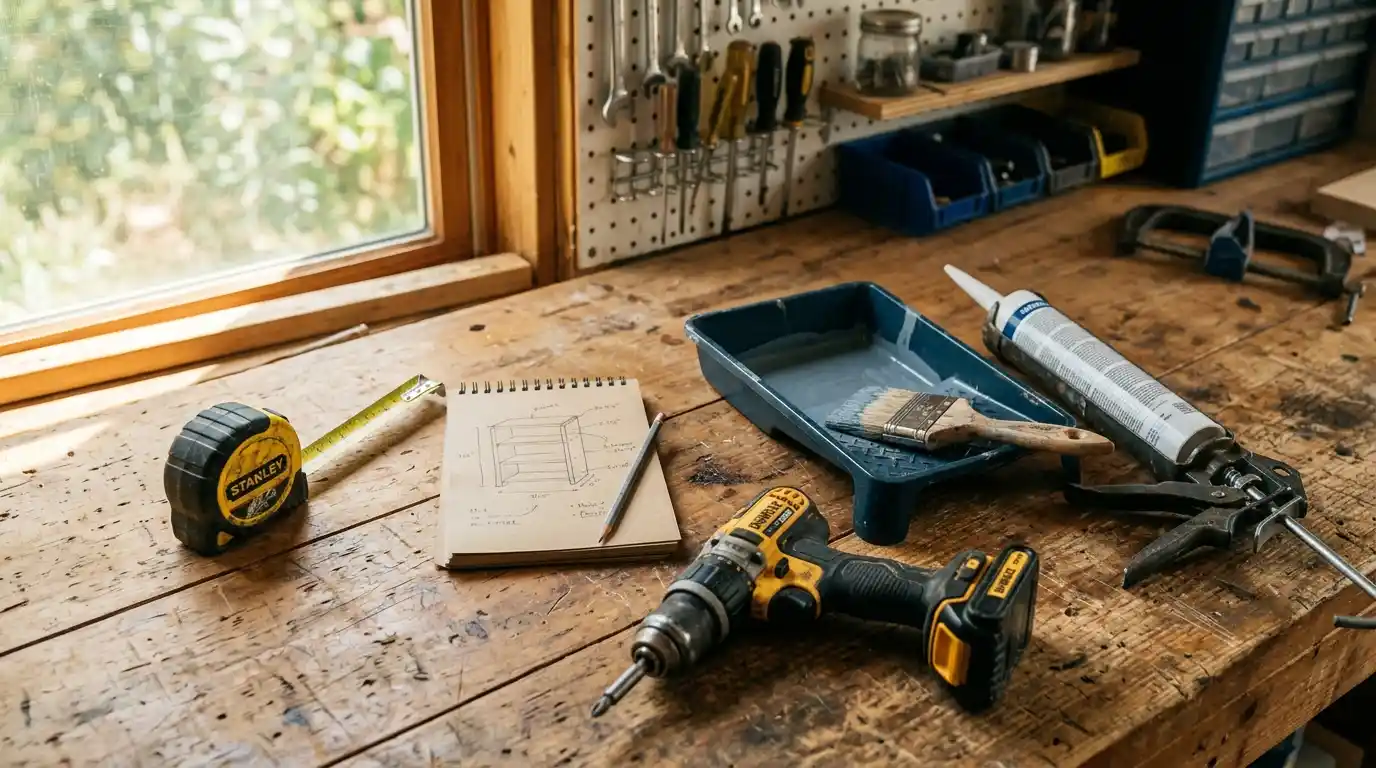
Getting the planning right doesn’t take long. It does take a bit of discipline, though, which is exactly the part people skip when they’re itching to start cutting or painting already. A quick sketch with real numbers on it even for something as small as a shelf saves you from the classic “wait, it’s a quarter inch too short” moment that sends you back to the store mid-project, again. Pad your budget too. Fifteen to twenty percent extra, roughly, before you even start. Material shortages happen. Measurements get fumbled. You open a wall and find a problem nobody warned you about. That’s closer to normal than exception once a project’s actually underway.
So what’s the single biggest mistake beginner DIYers make? Skipping measuring and planning to get to the “fun part” faster. A locking tape measure, a level, a written sketch with actual dimensions maybe ten extra minutes, tops and you avoid the mismatched cuts and crooked installs that account for most amateur-looking results. Even builders with decades of experience still measure twice on simple jobs. They’ve learned the hard way that one careless moment costs hours of rework later.
Use the Right Tool, Not Just the Closest One
Grabbing whatever’s nearest instead of the correct tool is one of the fastest ways to turn an easy project into an annoying one. A regular drill and an impact driver look basically identical but behave completely differently a drill’s fine for soft-material holes and light screws, while an impact driver delivers the rotational punch you actually need for driving screws into denser material without stripping them, or wrecking your wrist in the process.
Same logic with the smaller stuff people assume is interchangeable. A putty knife is stiff, built for scraping or dabbing on small amounts of compound. A drywall knife (or taping knife) is flexible, built specifically for spreading joint compound smoothly across a seam. Grab the wrong one and you’ll either damage the surface or spend three times as long fighting the tool instead of doing the actual job.
Do you genuinely need specialty tools for basic home repairs? Not really, for most projects a solid basic kit covers the vast majority of what comes up. Locking tape measure, level, square, cordless drill, multi-bit screwdriver, adjustable wrench, voltage tester. That handles most plumbing, hanging, and small electrical tasks you’ll run into in a typical home. Specialty tools like an impact driver only really matter once you’re working denser materials, or doing enough repeat projects to justify the purchase.
Painting Technique That Actually Holds Up
Most painting disappointment traces back to what happened before the roller ever touched the wall not the paint itself. Skipping proper preparation is one of the biggest reasons a fresh coat of paint looks great at first but starts showing flaws months later as grime, rough patches, and missed primer spots become visible.
Start by actually cleaning the walls. A degreaser or simple TSP solution pulls out the layer of grime that builds up invisibly over time, especially in kitchens. Patch holes with spackle, let it dry completely, then sand until you genuinely can’t feel the patch with your hand — not just until it looks smooth from a few feet back. Primer isn’t optional either, no matter how often people try skipping it. It helps paint actually adhere, blocks old stains from bleeding through, and gives you a uniform base so your color reads the way it’s supposed to instead of patchy and uneven.
How do you actually get clean paint lines without tape everywhere? Load an angled brush about halfway up the bristles, hold it like a pencil, and pull long, steady strokes along the edge you’re cutting in. Too much paint and it drips. Too little and you get gaps and streaky coverage. Takes a few walls to find the right pressure and pace so practice somewhere low-visibility first. A closet, the back of a door. Somewhere mistakes won’t haunt you every time you walk past.
Weekend Upgrades With Actual Visual Impact
Full renovations aren’t the only path to a house that feels noticeably better. Small, targeted swaps you can knock out in a weekend, for less than a nice dinner out costs, often do more for how a room actually feels day to day than a project ten times the size and budget.
Hardware swaps are the easiest entry point here. Before buying new cabinet pulls or knobs, measure the center-to-center distance between your existing screw holes most hardware runs either 3-inch or 3.75-inch spacing. Match it and installation takes minutes. Mismatch it and now you’re filling old holes and drilling new ones, which adds real time to what should’ve been a fast project. A fresh caulk line around a tub or sink is another high-impact, low-effort fix. Cut the old caulk out along both edges with a utility knife, clean the gap with rubbing alcohol, then apply new caulk at a 45-degree angle and smooth it in one continuous motion with a damp finger before it starts to set.
How long does re-caulking a bathtub actually take? About 30 minutes total, removal and application combined. Most of that time goes into cleanly cutting out the old bead and letting the gap dry fully before applying anything new caulking over a damp or residue-covered joint is the main reason a fresh line fails to seal and needs redoing a few months later.
Proactive Maintenance Beats Reactive Repairs, Every Single Time
Nearly every expensive home repair started life as a small, easy-to-ignore annoyance that got put off for months. A slow drip under a sink. A toilet that runs a few extra seconds after flushing. A hinge that suddenly squeaks out of nowhere. None of it feels urgent in the moment, which is exactly why it’s worth checking on a schedule instead of waiting for the full-blown failure.
A simple ten-minute monthly walkthrough covers the highest-value checks: look under every sink for moisture, test smoke and carbon monoxide detectors, pull and clean the range hood filter, check the water heater for rust or pooling at the base. None of it’s complicated. Catching a slow leak early is the difference between a five-minute fix and replacing water-damaged drywall and cabinetry down the line. Take a running toilet seriously too the EPA’s WaterSense program has cited running toilets as capable of wasting up to roughly 200 gallons of water a day, which adds up fast on a bill even before you factor in what the eventual repair costs.
And how often should you actually replace HVAC filters? Roughly every 90 days for most standard filters, though homes with pets or heavier dust levels might need monthly changes instead. A clogged filter forces your system to work harder just to maintain airflow, which quietly raises energy costs and shortens the equipment’s overall lifespan over time. A cheap filter swap is genuinely one of the highest-value maintenance habits available to any homeowner, full stop.
Conclusion
The gap between a shaky first DIY attempt and something that looks genuinely professional usually comes down to a handful of habits: measure properly before you cut, use the right tool instead of the closest one, prep surfaces before painting, stay ahead of small maintenance issues before they turn expensive. None of it takes natural talent. Just the right sequence, and giving prep work the time it actually needs instead of rushing past it. Pick one project this weekend, apply what fits, and build from there.
FAQs
A locking tape measure, level, square, cordless drill, multi-bit screwdriver, adjustable wrench, and voltage tester cover most common household repairs. Build out a more specialized kit over time as specific projects actually call for it, rather than buying everything upfront just in case.
Padding your estimated budget by roughly 15 to 20 percent is a reasonable rule of thumb, since material shortages, measurement corrections, and hidden problems behind walls or under fixtures are common, not rare. Not needing the extra cushion is a fine outcome. Running out of budget mid-project is far more disruptive than planning ahead for it.
Usually because a prep step got skipped unwashed walls, unsanded patches, or missing primer are the most common culprits. Paint applied over grime, dust, or an unprimed patch tends to look uneven or peel prematurely, even when the paint itself was decent quality.
New or changing sounds, smells, or moisture are usually the first sign a running toilet, a squeaky hinge that wasn’t there before, a damp smell under a sink. All worth checking right away instead of waiting. Most expensive repairs started as a small, ignorable annoyance that simply went unaddressed for months at a time.